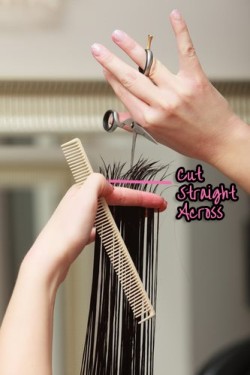
Easily Cut Your Own Hair Into Layers

90s Starter Jackets Are Still Cool After 20 Years

3 Winter Fashion Trends To Try This Season

Buttery Delicious Chocolate Chip Cookie Recipe

Super Easy Sugar Cookie Recipe
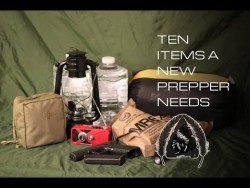
10 Items a New Prepper Needs in Their Arsenal
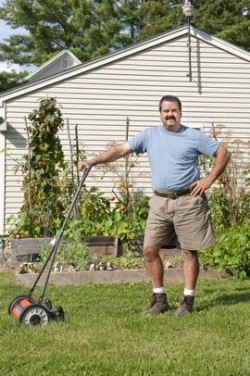
Start Up Your Own Small Lawn Care Business Quic ...

Anyone up for some morning tea?

There can never be too many polka dots
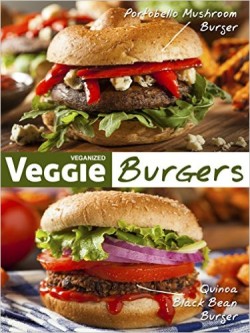
50 Delicious Vegan Burger Recipes

Take a Trip Down 90s Memory Lane

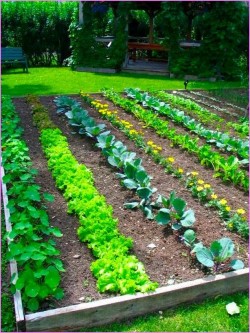
What a Gorgeous Veggie Garden!
Another Raised Vegetable Garden I Love!
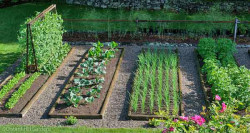
Beautiful Raised Bed Vegetable Garden

How to Start a Coin-Operated Laundromat
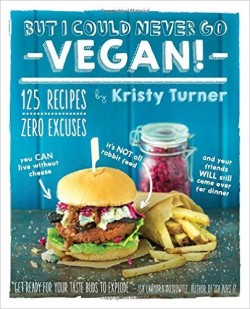
125 Recipes That Prove You Can Live Without Cheese

Vegetable Garden Makes Me Want a Fence
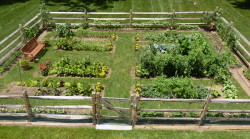
Gorgeous Fenced Vegetable Garden
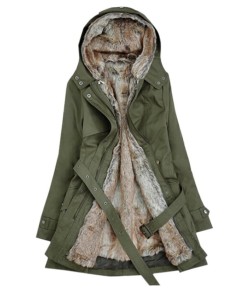
Hot Hooded Trench with Faux Fur
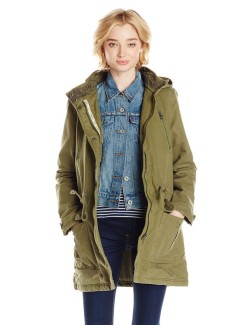
Billabong Effy Military Jacket

How to Purify Water with Mint

Basic Shelter Building

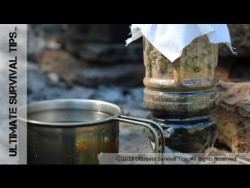
Easy Emergency Food for Forest Survival
Make a Water Filter from Random Stuff

How to Tie a Double Windsor Knot

Gordon Ramsay on the Perfect at Home Steak

Yes there is far more to life, it’s calle ...

Whip Up Some Mac and Cheese for Election Day

Spooky Witch’s Brew Recipe (Super Simple)

Get Turnt Up with a New Moon Cocktail